Getting Started
Getting started with Flix is straightforward. All you need is Java version 21+.
You can check if Java is installed and its version by typing:
$ java -version
which should print something like:
openjdk version "21" 2023-09-19 LTS
OpenJDK Runtime Environment Temurin-21+35 (build 21+35-LTS)
OpenJDK 64-Bit Server VM Temurin-21+35 (build 21+35-LTS, mixed mode, sharing)
If Java is not installed or your version is too old, a newer version can be downloaded from Adoptium.
Once you have Java 21+ installed there are two ways to proceed:
- You can use the Flix VSCode extension (highly recommended) or
- You can run the Flix compiler from the command line.
Using Flix from VSCode
Flix comes with a fully-featured VSCode plugin. Follow these steps to get started:
- Create a new empty folder (e.g.
my-flix-project).- Open VSCode and choose
File -> Open Folder.- Create a new file called
Main.flixin the folder.- VSCode will ask you want to search the marketplace for extensions. Say “Yes”.
- The Flix extension will be downloaded and installed. Once done, it will ask if you want to download the Flix compiler. Say “Yes” again.
- When you see “Starting Flix” followed by “Flix Ready!” everything should be ready.
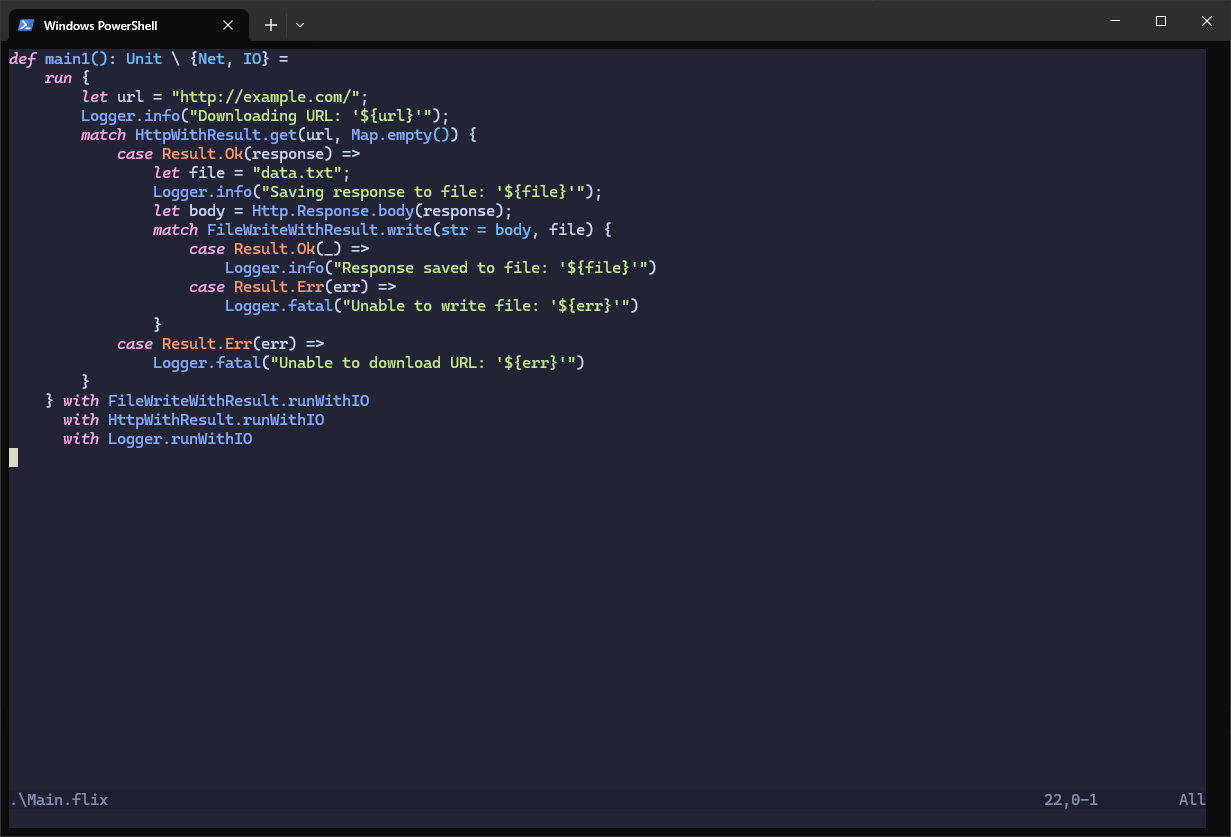
A screenshot of the Flix Visual Studio Code extension in action:

Using Flix from Neovim
Flix can also be used from Neovim. Follow these steps to get started:
- the official plugin relies on features released in Neovim 0.11
- check the version of neovim installed
nvim --version
Neovim Plugin
There is a Lua plugin which provides an LSP configuration for the native neovim lsp, and several functions to interact with the flix cli. It’s repo has detailed installation and configuration instructions. It can be installed with a plugin manager of choice or cloned locally into your neovim runtime path.
The plugin provides no Keymappings but sets the Flix LSP server up, allowing it to work with your default LSP mappings. An example of setting up LSP keymappings with nvim 0.11 can be seen below. Once your LspAttach autocmd has been set the keymappings will apply to all configured lsp servers.
-- create auto command that is triggered when your LSP server attatches to the buffer
vim.api.nvim_create_autocmd('LspAttach', {
  -- give it a name to prevent autocmd conflicts
  group = vim.api.nvim_create_augroup('my.lsp', {}),
  -- the function to run when the server attatches
  callback = function(args)
    -- helper function to set keybinding options with an optional description string
    -- !!! important !!!
    -- `buffer` makes these mappings local to the buffer triggering the autocmd
    local function get_opts(desc)
      return { desc = desc, buffer = args.buf, noremap = true, silent = true }
    end
    -- check that the LSP client supports features before setting bindings
    local client = assert(vim.lsp.get_client_by_id(args.data.client_id))
    if client:supports_method('textDocument/format') then
      vim.keymap.set('n', '<leader>=', vim.lsp.buf.format, get_opts('format buffer'))
    end
    if client:supports_method('textDocument/rename') then
      vim.keymap.set('n', '<leader>rn', vim.lsp.buf.rename, get_opts('rename'))
    end
    vim.keymap.set("n", "<leader>ca", vim.lsp.buf.code_action, get_opts("lsp code action"))
    vim.keymap.set("n", "<leader>cl", vim.lsp.codelens.run, get_opts("lsp codelens run"))
    vim.keymap.set("n", "gr", vim.lsp.buf.references, get_opts("lsp references"))
    vim.keymap.set("n", "gd", vim.lsp.buf.definition, get_opts("lsp definition"))
    vim.keymap.set("n", "<leader>h", vim.lsp.buf.document_highlight, get_opts("lsp document highlight"))
    vim.keymap.set("n", "K", vim.lsp.buf.hover, get_opts("lsp hover"))
    vim.keymap.set("n", "gi", vim.lsp.buf.implementation, get_opts("lsp buf implementation"))
    vim.keymap.set('i', '<C-a>', '<C-x><C-o>', get_opts("manual expand completion"))
    vim.keymap.set("n", "<leader>rn", vim.lsp.buf.rename, get_opts(""))
    vim.keymap.set("n", "<leader>d", vim.diagnostic.open_float, get_opts("diagnostic open float"))
    vim.keymap.set("n", "<leader>ws", vim.lsp.buf.workspace_symbol, get_opts("lsp workspace symbol"))
    vim.keymap.set("n", "<leader>ds", vim.lsp.buf.document_symbol, get_opts("lsp doc symbol"))
  end
})
The snippet above provides the following keybindings.
| Keybinding | Action |
|---|---|
gd | Go to definition |
gi | Go to implementation |
gr | Find references |
ctrl+a | Trigger auto-complete |
shift+k | Hover |
<leader>rn | Rename symbol |
<leader>ca | Code actions |
<leader>cl | Run Code lens |
<leader>ws | Show workspace symbols |
<leader>ds | Show document symbols |
<leader>d | Show diagnostics |
<leader>h | Show document highlight |
Previously lspconfig provided LSP functionality to neovim and lsp configurations. However, after version 0.11 neovim has LSP built in, lspconfig only provides configurations for common lsp servers. This makes its installation less necessary but it is still recommended.
Manual Configuration
If you would rather setup the LSP server yourself the code from the plugin is as follows.
- Tell nvim what filetypes are Flix files
vim.filetype.add({
  extension = {
    flix = "flix",
  }
})
- Configure the Flix LSP for neovim’s native LSP client
-- check if "flix" has already been setup
if not vim.lsp.config["flix"] then
  -- create flix LSP configuration for native LSP
  vim.lsp.config('flix', {
    -- choose just one `cmd` definition
    -- for a project local `flix.jar` ie flix.jar is installed in the root of your project
    cmd = { "java", "-jar", "flix.jar", "lsp" },
    -- for a global flix installation ie with "homebrew" or "nix"
    cmd = {"flix", "lsp"},
    filetypes = { "flix" },
    root_markers = { "flix.toml" }, -- where to set the root directory
    cmd_cwd = vim.fs.root(0, { 'flix.toml' }),
    root_dir = vim.fs.root(0, { 'flix.toml' }),
})
end
- Create an autocmd to set flix defualts such as comments and indenting, and to run the codelens whenever your flix buffer changes.
-- auto commands
-- create named "groups" to prevent autocmd conflicts
local flix = vim.api.nvim_create_augroup("flix.ft", { clear = true })
local flix_lsp = vim.api.nvim_create_augroup("flix.lsp", { clear = true })
-- autocmd that activates when a "flix" buffer is entered
vim.api.nvim_create_autocmd("FileType", {
  group = flix,
  pattern = "flix",
  callback = function(args)
    vim.api.nvim_clear_autocmds({ group = flix_lsp, buffer = args.buf }) -- prevent duplicates
    -- set flix defaults
    vim.opt_local.tabstop = 4
    vim.opt_local.shiftwidth = 4
    vim.opt_local.softtabstop = 4
    vim.bo.commentstring = "// %s"
    -- refresh codelens
    vim.api.nvim_create_autocmd({ 'BufEnter', 'CursorHold', 'InsertLeave' }, {
      group = flix_lsp,
      buffer = args.buf,
      callback = function()
        vim.lsp.codelens.refresh({ bufnr = args.buf })
      end
    })
  end
})
place this code in your
$HOME/.config/nvim/init.luaor wherever you configure your lsp in neovim.
Using Flix from Emacs
Flix can be used from Emacs as well by installing the flix-mode package. Follow the instructions there to get started writing Flix code in Emacs.
Using Flix from the CLI
Flix can also be used from the command line. Follow these steps:
- Create a new empty folder (e.g.
my-flix-project).- Download the latest
flix.jarfrom https://github.com/flix/flix/releases/latest and put it into the folder.- Enter the created directory (e.g.
cd my-flix-project) and runjava -jar flix.jar initto create an empty Flix project.- Run
java -jar flix.jar runto compile and run the project.
Installing Flix with Nix
Flix can also be installed using the nix package manager. To install for the currently running shell run:
$ nix-shell -p flix
Or alternatively to install globally:
$ nix-env -i flix
Then run flix run in your project directory.
Troubleshooting
The most common reasons for Flix not working are (a) the java command not
being on your PATH, (b) the JAVA_HOME environmental variable not being set
or being set incorrectly, or (c) having the wrong version of Java installed. To
debug these issues, ensure that:
- The command
java -versionprints the right Java version. - The
JAVA_HOMEenvironmental variable is correctly set.- On Windows, you can print the variable by typing
echo %JAVA_HOME%. - On Mac and Linux, you can print the variable by typing
echo $JAVA_HOME.
- On Windows, you can print the variable by typing
If you are still stuck, you can ask for help on Zulip.